Did you know that the United States generates more than 250 million tons of municipal solid waste each year? Or that paper and paperboard (along with food and yard trimmings) contribute most to the nation's MSW?
Shocking right? After all, the US alone uses about 69 million tons of paper and paperboard every year.
The good thing is, we can recycle most of these materials. Not only recycle for the same use, but for cool and amazing DIY projects too!
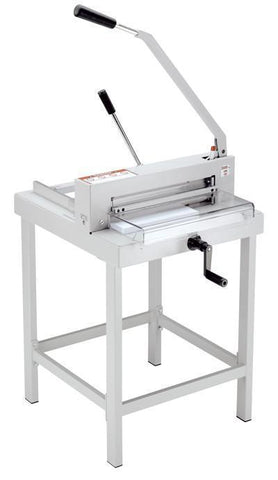
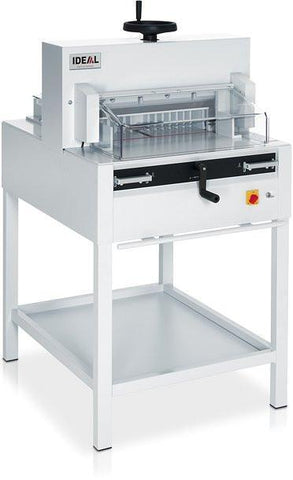
A good way to start is knowing how to use a paper cutter or trimmer. With this great tool, you can transform these used materials around the home and office into wonderful art or functional pieces!
Check out these three crafty ideas (see what we did there) for your paper cutter or trimmer!
1. Bookmarks and Journaling Tags
Depending on whether you have a paper cutter or paper trimmer, you can make these in small or bigger quantities. In any case, both works, and you need only a few supplies and your creativity.
Here are the must-have supplies:
- Paper cutter/trimmer
- Scrap folders
- Hole punch
- Paper hole reinforcers
- Yarn
- Sharpies in different colors
Start by using your paper cutting/trimming tool to cut the folders into your desired shapes. With a cutter, you can stack up several folders and cut them up all at once. With a trimmer, you can stack about two or three folders at a time.
Punch holes on the top center (or wherever you fancy) of the cutouts. Affix the reinforcers and tie strands of yarns on them.
Then, use your drawing or lettering skills with the Sharpies. Let loose and make different designs!
2. Recycled Notepads
Ever felt that frustration when you needed to jot something down or make a list and you can't seem to find a sheet of paper? Well, you can resolve that with your DIY notepads made from recycled paper!
Gather these items:
- Paper cutter/trimmer
- Scrap papers that still have an empty side/area
- Hole punch
- Yarn
Using the cutter or trimmer, cut out the scrap paper into smaller shapes of your fancy. Like what you did with the bookmarks/tags, gather these sheets up and punch a hole in them. To avoid ending up with scattered sheets, tie them with a string of yarn.
Put them somewhere handy, like beside the telephone or your workstation. That way, you won't have to panic when you need to write something down!
3. A Fancy Paper Holder for All Your Bookmarks and Notepads
This one is a little more complicated but worth it! It can keep your bookmarks, tags, and notepads (among other things) together and organized.
Here's what you need:
- Paper cutter/trimmer
- Used or old folders
- Wrapping paper (like a gift wrapper or anything similar with pretty designs)
- Glue
For a fancier and sturdier box, check out this guide for making a cardboard folder. A paper cutter or a paper trimmer will make it easier for you to slice through the template. Don't forget to wrap (and glue) the box with fancy paper!
Learn How to Use a Paper Cutter for These DIY Projects
Learning how to use a paper cutter outside their usual functions is a great way to let loose of your creativity. Best of all, these projects can help you reduce your waste at home and in the office.
Remember: recycling materials can be a start to your going green!
If you want to learn more about these cutting implements and project ideas, feel free to visit our site.